Is your Windows PC running slow? Is Windows taking ages to boot up or close down? Try some of these easy to do tweaks that anyone can accomplish to speed up your PC today!
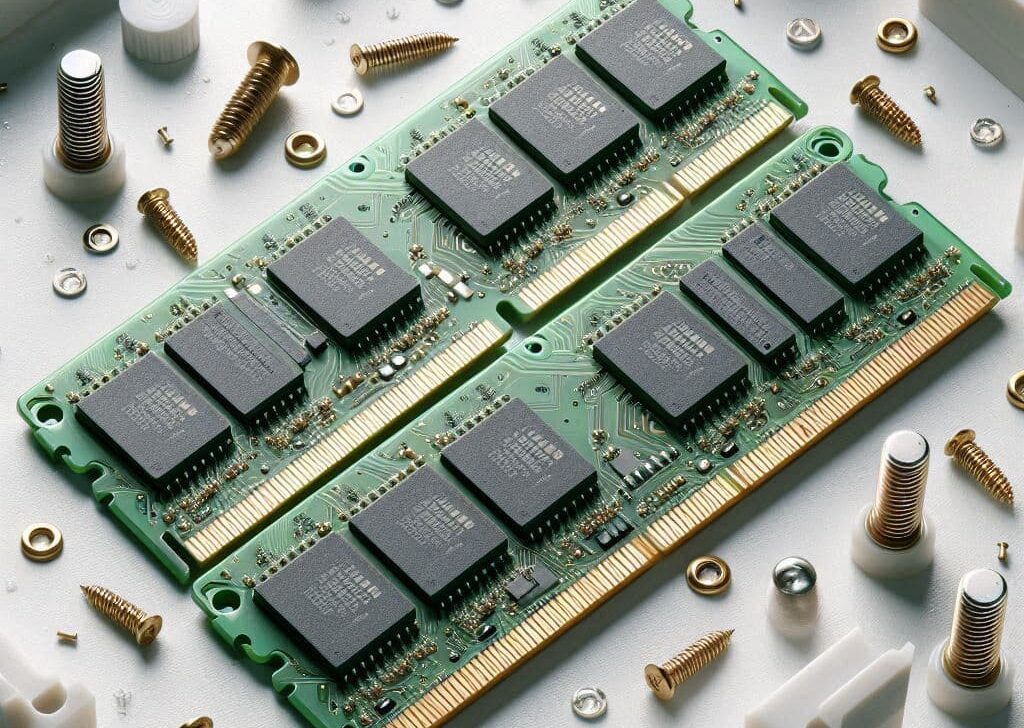
There are a number of ways you can speed up Windows 7. Upgrading your hardware such as installing more ram or a fast SSD (solid state drive) can significantly increase system performance but these cost money.
In today’s tough economic climate, we’ll be looking at the various software tweaks you can easily apply. These not only give you results, they’ll cost you absolutely nothing.
Using Minimal Visual Effects and Sounds
Windows 7 looks and sound great, but only if your PC is up to spec.
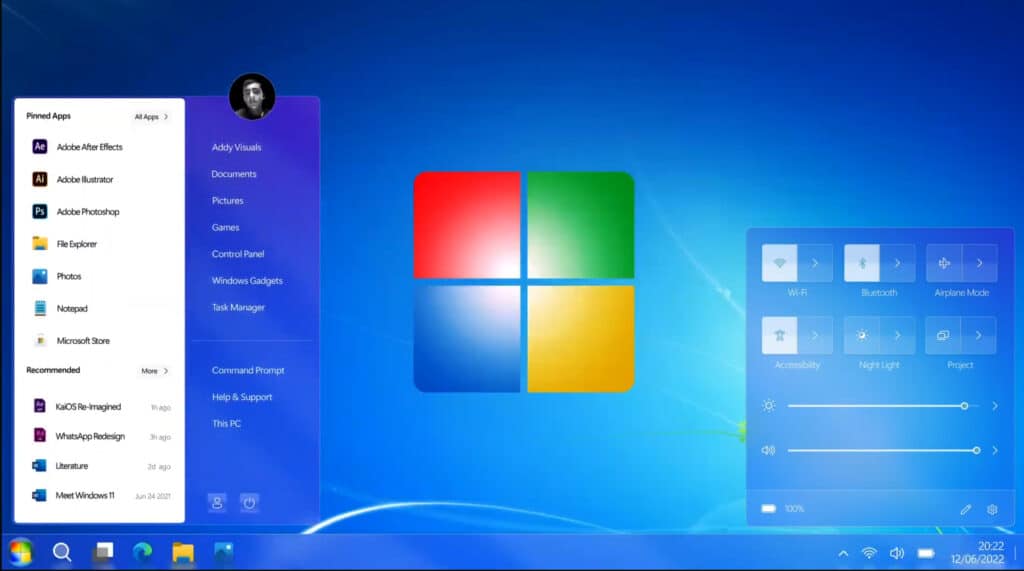
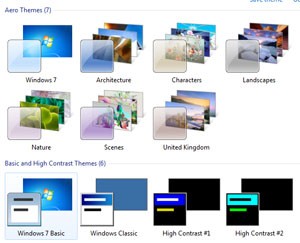
By default, Windows 7 is shipped using the Aero theme. This includes things like a transparent taskbar and transparent windows and includes Aero peek. These are all nice touches, but unnecessary.
Having sounds enabled also uses up system resources and is better disabled.
- Right click on your desktop and select “Personalize”
- Scroll down to the “Basic and High Contrast Themes” and select “Windows 7 Basic”.
- At the bottom of this window, you should also see and icon called “Sounds”.
- Click this and in the pop-up window under the “Sound Scheme” select “No Sounds” and click OK.
Disabling Unwanted Startup Items
Disabling unwanted startup items can speed up Windows 7 boot times considerably. Doing so stops them pre-loading as your PC boots and hogging system resources.
- Click on the Windows start button. Type “msconfig” in the “Search programs and file” field and press enter.
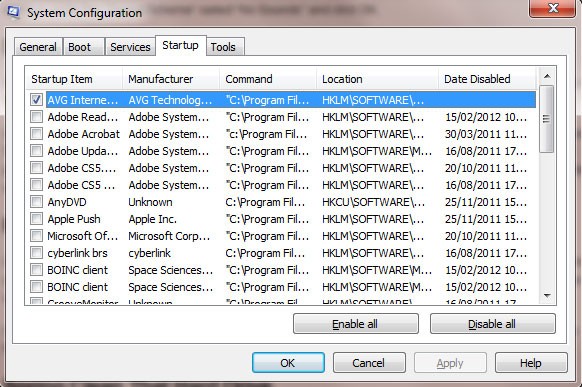
- This will load the System Configuration tool. Click on the “Startup” tab.
- Now carefully go through the list of items and deselect all the ones you don’t won’t to load each time windows boots. I usually disable all of them except my antivirus.
Remove Unused Programs & Windows Features
Over time, your PC will acquire several programs that you don’t need or use. These includes program demos, games you don’t play anymore, pre-installed software etc.
These programs are just wasting space and clogging up your system registry so you are better off uninstalling them.
- Click on the Windows 7 start button and click “Control Panel”.
- Click on the “Uninstall a program” under the Programs heading. Select the programs you want to uninstall from the list.
Spring Clean That Hard Drive
Cleaning your computer of unwanted and old files can also speed up Windows 7,
- Click on the Windows start button and click “Computer”.
- Next right-click your system hard drive (usually C:) and select “Properties”.
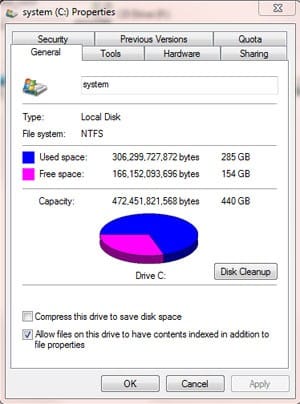
- Under the “General” tab click the “Disk Cleanup” next to the pie chart.
- Once the Disk Cleanup loads select the “Clean up system file” and then tick off what you want windows to clean.
You should never fill your hard drive as some free space is needed to keep you PC running fast and smoothly. Always keep at least 10% of free space. Check out my CCleaner user guide for even more efficient spring cleaning here.
Defragment Your Hard Drive
To make sure defrag is enabled,
- Click the Windows 7 start button and click “Computer”.
- Right click on your system hard drive (normally C:) and click “Properties”.
- Select the “Tools” tab and click the “Defragment now”.
- You can now choose to either manually defrag your hard drive by clicking “Defragment Disk”, or setup a scheduled defrag by clicking the “Configure schedule” button.
Defragging your hard drive speeds up Windows 7 because it rearranges all the data on the hard drive in a logical order. It will move all files from the same program to the same area on the disk for faster accessing. Also, it will move large files so they are not spread over different parts of the drive.
Doing so greatly decreases the amount of physical movement the drive head needs to perform. Check out my Smart Defrag guide for even easier defraging here.
Turning Off Content Indexing
Unless you have a memory like a sieve, content indexing is not really needed. Unlike a file search, content search allows you to search the content of a file.
To turn off content indexing,
- Click the Windows 7 start button and click “Computer”.
- Right click on your hard drive and click “Properties”.
- Under the “General” deselect the option “Allow file on this drive to have contents indexed in addition to file properties” and click “Apply”.
Enable Write Caching Hard Drive
Having hard drive caching enabled will speed up Windows 7 by making your hard drive work more efficiently. To make sure you have this enabled,
- Click on the Windows start button and right-click “Computer” and select “properties”.
- A window will load showing basic information about your computer.
- On the left menu choose “Device Manager” and once device manager loads, look down the tree and click the little arrow next to “Disk Drives”.
- Right click your hard drive and select “Properties”. Under the “Policies” tab, make sure you tick next to “Enable write caching on the device”.
Running a Lightweight Anti-Virus Program
Most PC’s from the large manufacturers come with software pre-installed such as an antivirus program. These generally come as a trial and once that is up, you will have to sign up to 12 months paid subscription.
Norton and McAfee are known bloatware and system hogs and can slow down your computer. Whenever I get a new PC or laptop, the very first thing I do is uninstall the pre-installed antivirus and install either Avast or AVG Free.
Both Avast and AVG Free are very light on system resources, and can help speed up windows 7 considerably. They do an excellent job and best of all they’re FREE! Download Avast here or AVG here.
Wrap Up
I hope you found this walk through about speeding up Windows 7 easy enough to follow. You will see performance gains if you follow it. If you have any question or other suggestion, feel free to leave some comments below.
